
Main Dashboard > Continuing Tile > Continuing Listing screen
Overview
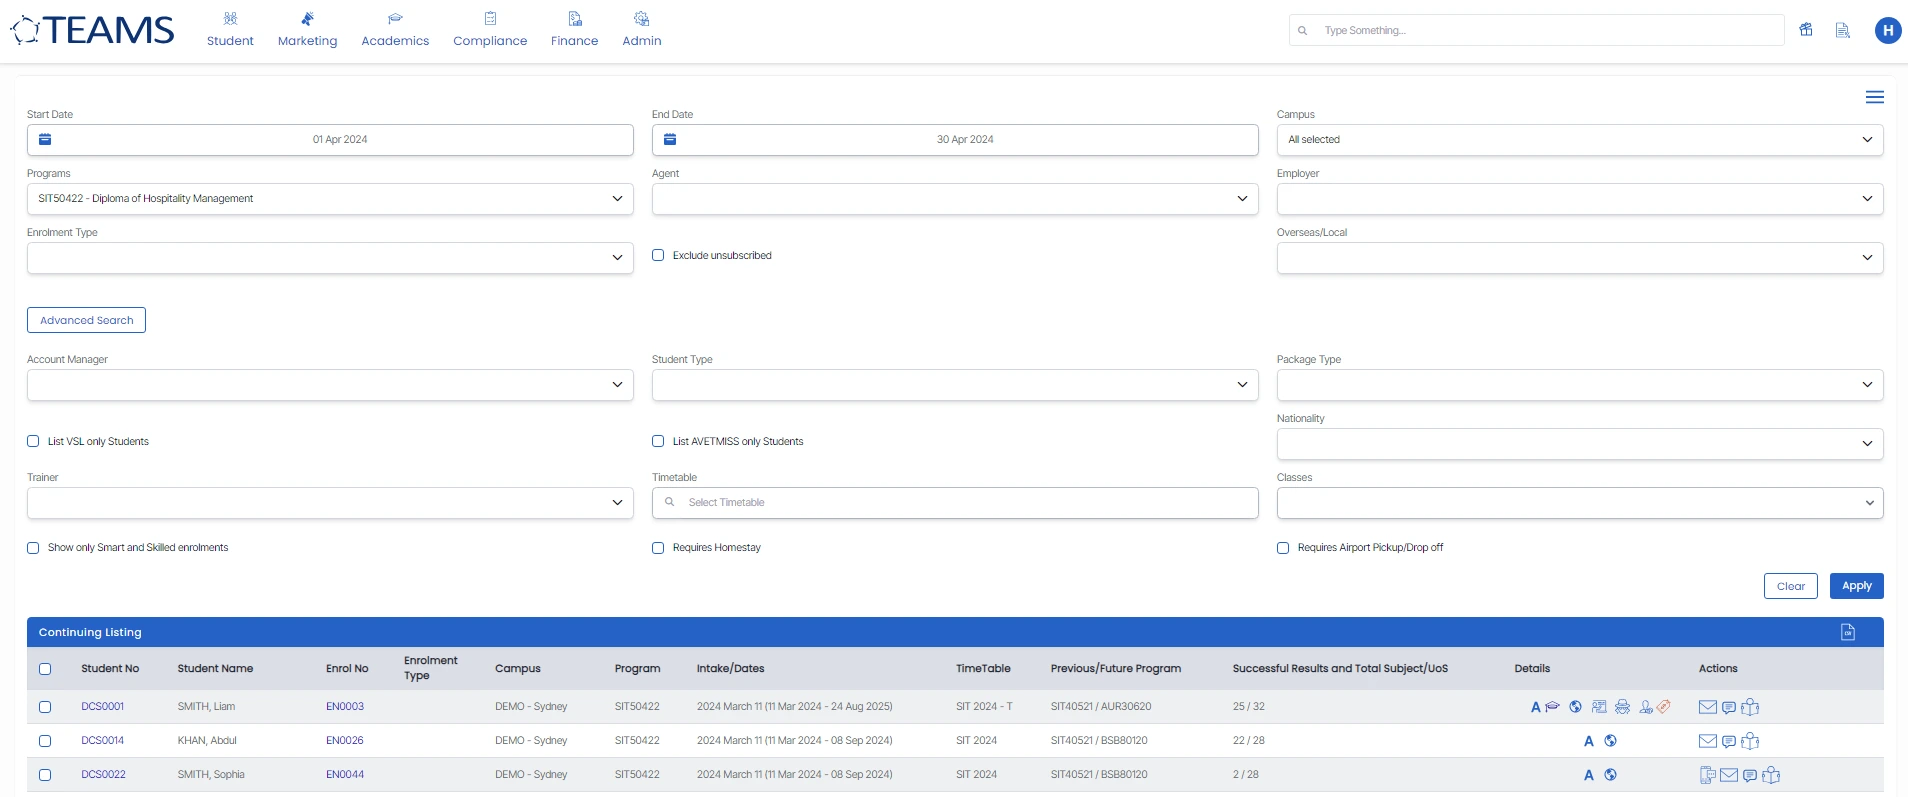
This listing screen is comprised of two parts. The top part shows us a list of fields that we can use to filter the list. The bottom part is a list of all the continuing/current students.
For example: on the Continuing tile if you select from the calendar option "This Month", it will show you a list of all the students who have an enrolment where the enrolment start and end dates are not within This Month. The system considers these enrolments to be Continuing, as they are continuing to study within this month.

When you select This Month, the system looks at today's date and what month it is to then use as the month to find enrolments.
How to get the total number of students in the college for the month?
If you want to get an actual total number of students in your college for the month, you would set the calendar option in the Continuing tile as well as in the Starters and Finishers tiles to the option for This Month. If you then look at the totals for all three tiles and add them together, that will then be the total of all your students expected to be in your college for the month. If you wanted it for let’s say next month, choose the same calendar option in all three tiles for Next Month and do the sum of the totals in the same way.
IMPORTANT: As part of getting your total number of students for This Month or Next Month and so on, you need to take care of the Starters and Finishers tiles with which number to use in the sum as mentioned above. The Starters and Finishers tiles show two numbers such as 12/15. This means that there are 15 starters or finishers and of this, only 12 have been set as started/finished in the system. To make sure you get an accurate number for how many students are in your college this month, you must use the left hand side number to sum up, such as 12, not the right hand side number of 15.
Filters/Parameters section
To open this screen, you would have selected the number count link for a specific program code or at the bottom of the Continuing tile you would have selected the link for the total number count. Based on what you selected the system will open the screen and populate the information in this section. For example, it will show you the start and end dates that were used in the tile as well as the campus/s and program/s that were displayed or selected in the tile, you can click on the Advanced Search button if you have more details to fill in fields to search a specific data you need.
For an explanation of each filter and how the system will use it, please click here for more information.
Continuing Listing
The populated data will be present in the grid format with student and their enrolment details.
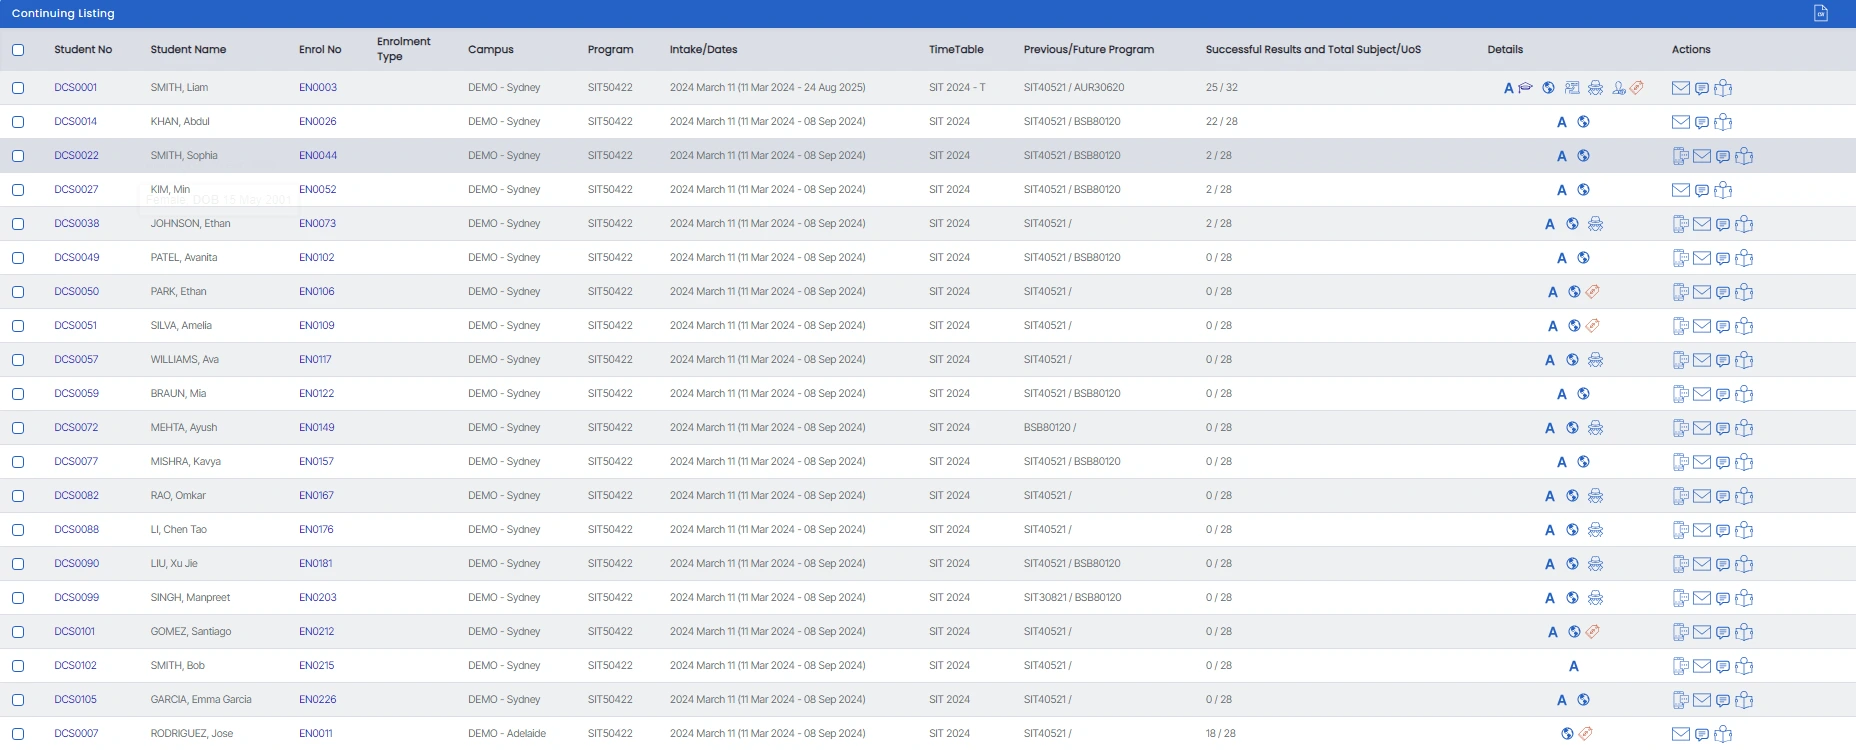
Steps to select multiple students and carry out bulk actions:
Tick the checkboxes next to the relevant student numbers, then select the desired option from the burger menu. You can send emails or SMS to multiple students, create contact logs, print letters, generate invoices in bulk, print certificates, send surveys, and update trainers. This functionality is designed to streamline your workflow and save time.
Click here to learn more about how to use the burger menu.
There are some icons available on the screen and under the details and action columns, click here to learn more about how to use these icons.
Previous/Future Program Column: This allows you to see, for each student in the grid, if they have a future enrolment to commence after the current one or if before their current enrolment had they completed a previous one with you. If it is a previous enrolment you will see that program code to the left of the / and if it is a future enrolment you will see the program code to the right of the /. Where the student has no previous or future enrolments, only the current enrolment, then you would only see the / in the column for that student.
Successful Results and Total Subject/UoS column: This gives you a count of the total Subjects or UoS linked to the enrolment and how many have a successful result. The total count linked to the enrolment is on the right hand side of the / in the column and the total successful result count is on the left of it.