
This post will show you some basic fields, icons, and options that we have in TEAMS on many screens. So this generic post will explain them
Mandatory fields

The fields will turn red if empty while you click on the button to save or a highlighted text will appear under the field that this field cannot be left blank
Calendar Options
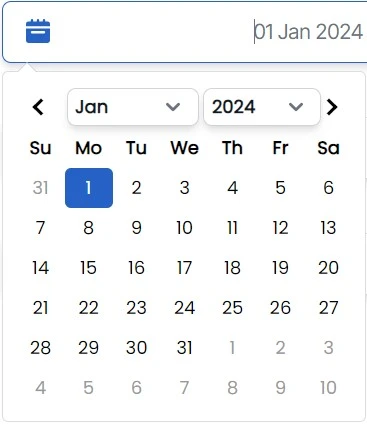
The calendar dropdown menu has different options, as shown in the picture above. If you wish to select a specific date range, select the “Custom Range” option and specify the start and end dates, then click the “Apply“.
Burger Menu
You will see the Burger menu on all the listing screens and the communication tile.
You will see the Burger menu on other entry screens as well and they will have options other than those mentioned above.
Read-only fields

The greyed-out fields are populated by the system; you cannot enter any data in these fields.
Date fields
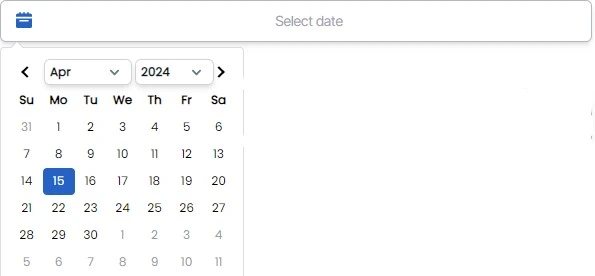
The date fields in TEAMS have to follow the DD/MM/YYYY or DD MMM YYYY format. You can also select the date directly from the calendar.
Important Icons, Buttons and Grids
There are many icons, buttons, and grids in the system. Please see this post for information on each important icon, button, and grid and what they do.
Report/Screen Filters
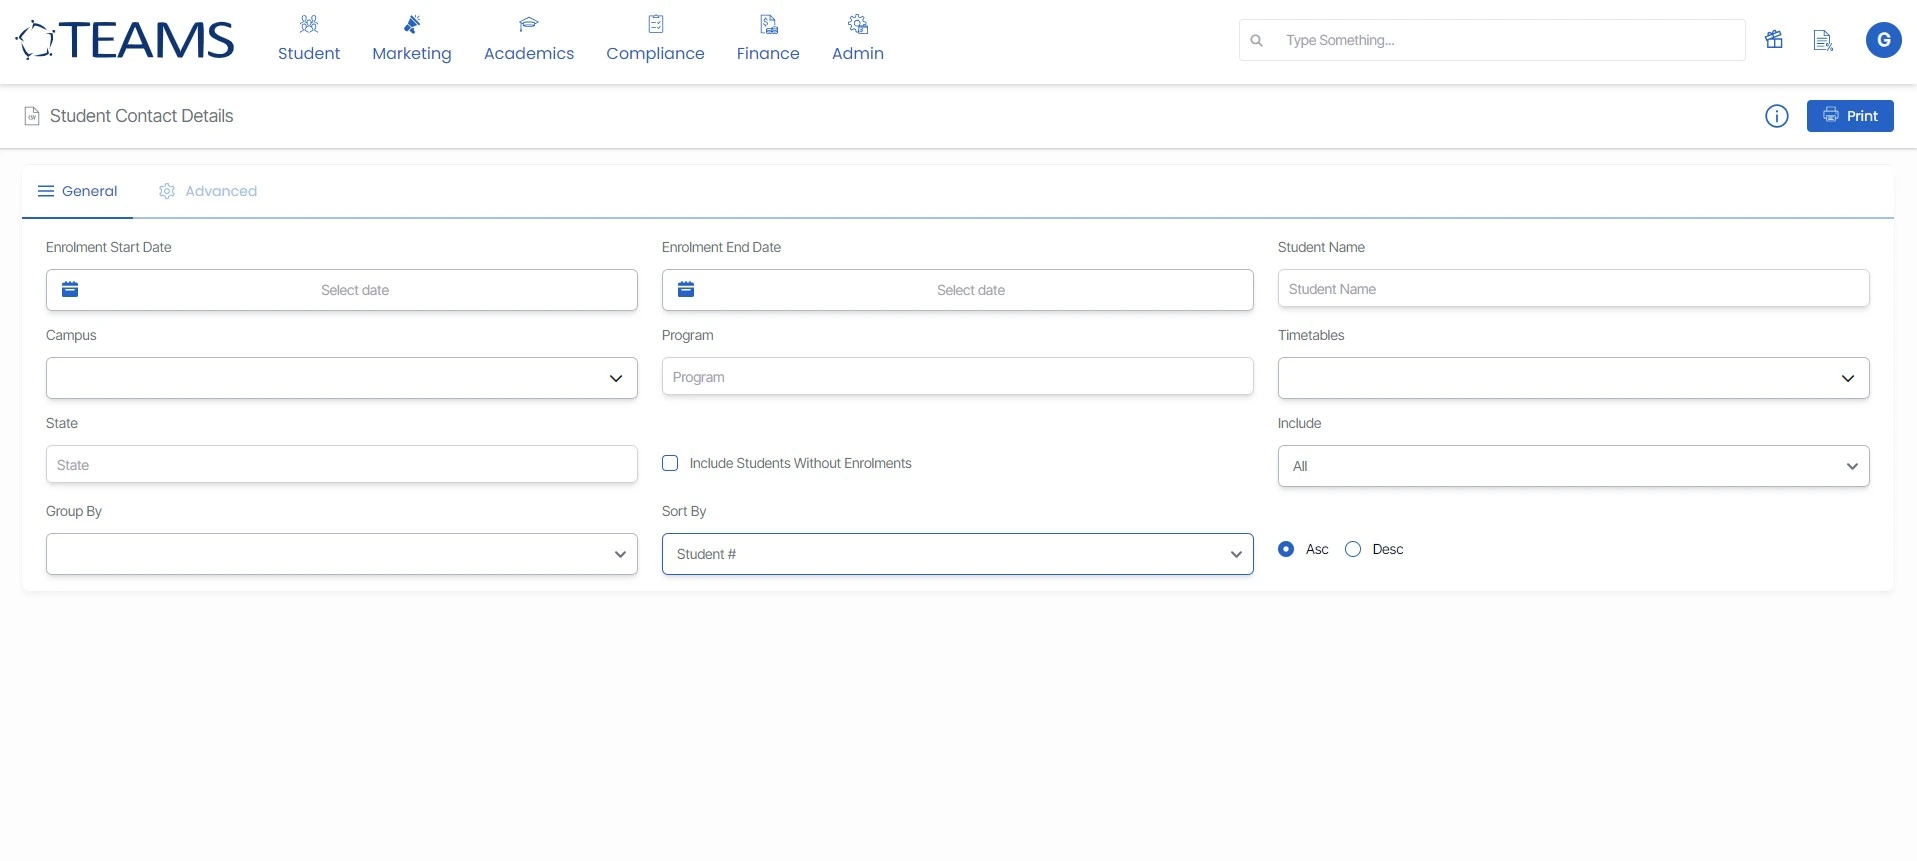
Filters, or parameters, can be used to narrow down the data displayed on the screen, or in the reports you generate. While this may sound like grouping, filtering is different because it allows you to qualify data and display only the data that matches the parameters you select.
Report Filter – Group By

All CSV reports have a “Group By” dropdown, which helps you group your reports based on the options that you select from the dropdown menu.
Report Filter – Sort By

On all our csv reports, you will see a Sort by parameter. This will help you to sort your reports in ascending or descending order based on the option that you select from the Sort by dropdown. Choose the suitable option from the dropdown to sort your report
Example: If you have selected Sort by option as Program with Asc radio button, then the system will sort the programs in ascending order in the generated report.
Documents Tile
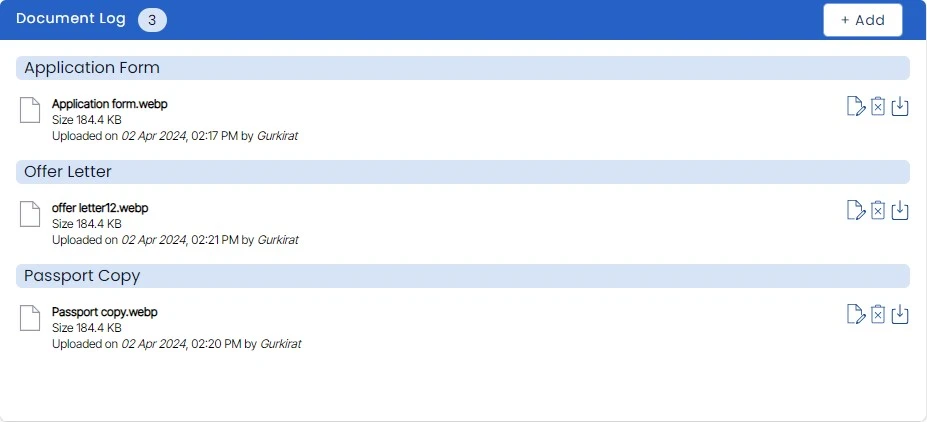
Most dashboard in TEAMS has a Documents Tile, be it a student dashboard or agent dashboard. Documents tile works the same way on every dashboard. Click on the Documents Tile icon to learn more.
Communication Tile
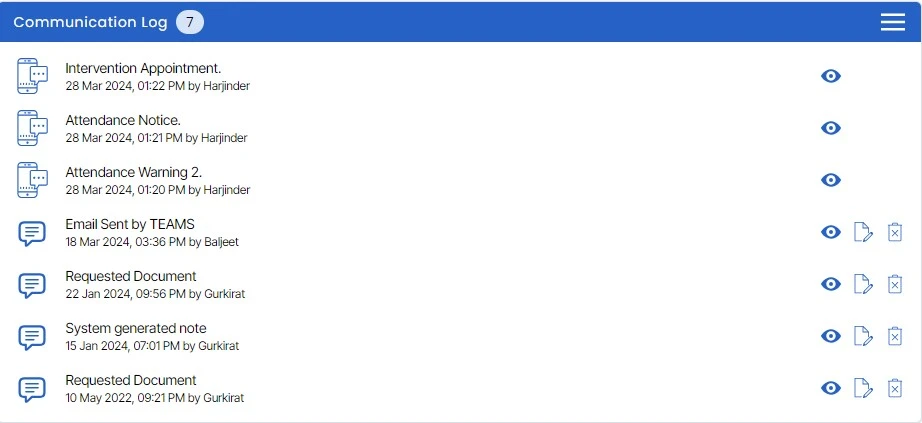
TEAMS has a Communication Tile on most of the dashboards, be it a student dashboard or agent dashboard. The communication tile works the same way on every dashboard. Click on the icon above to learn more.
Audit Log
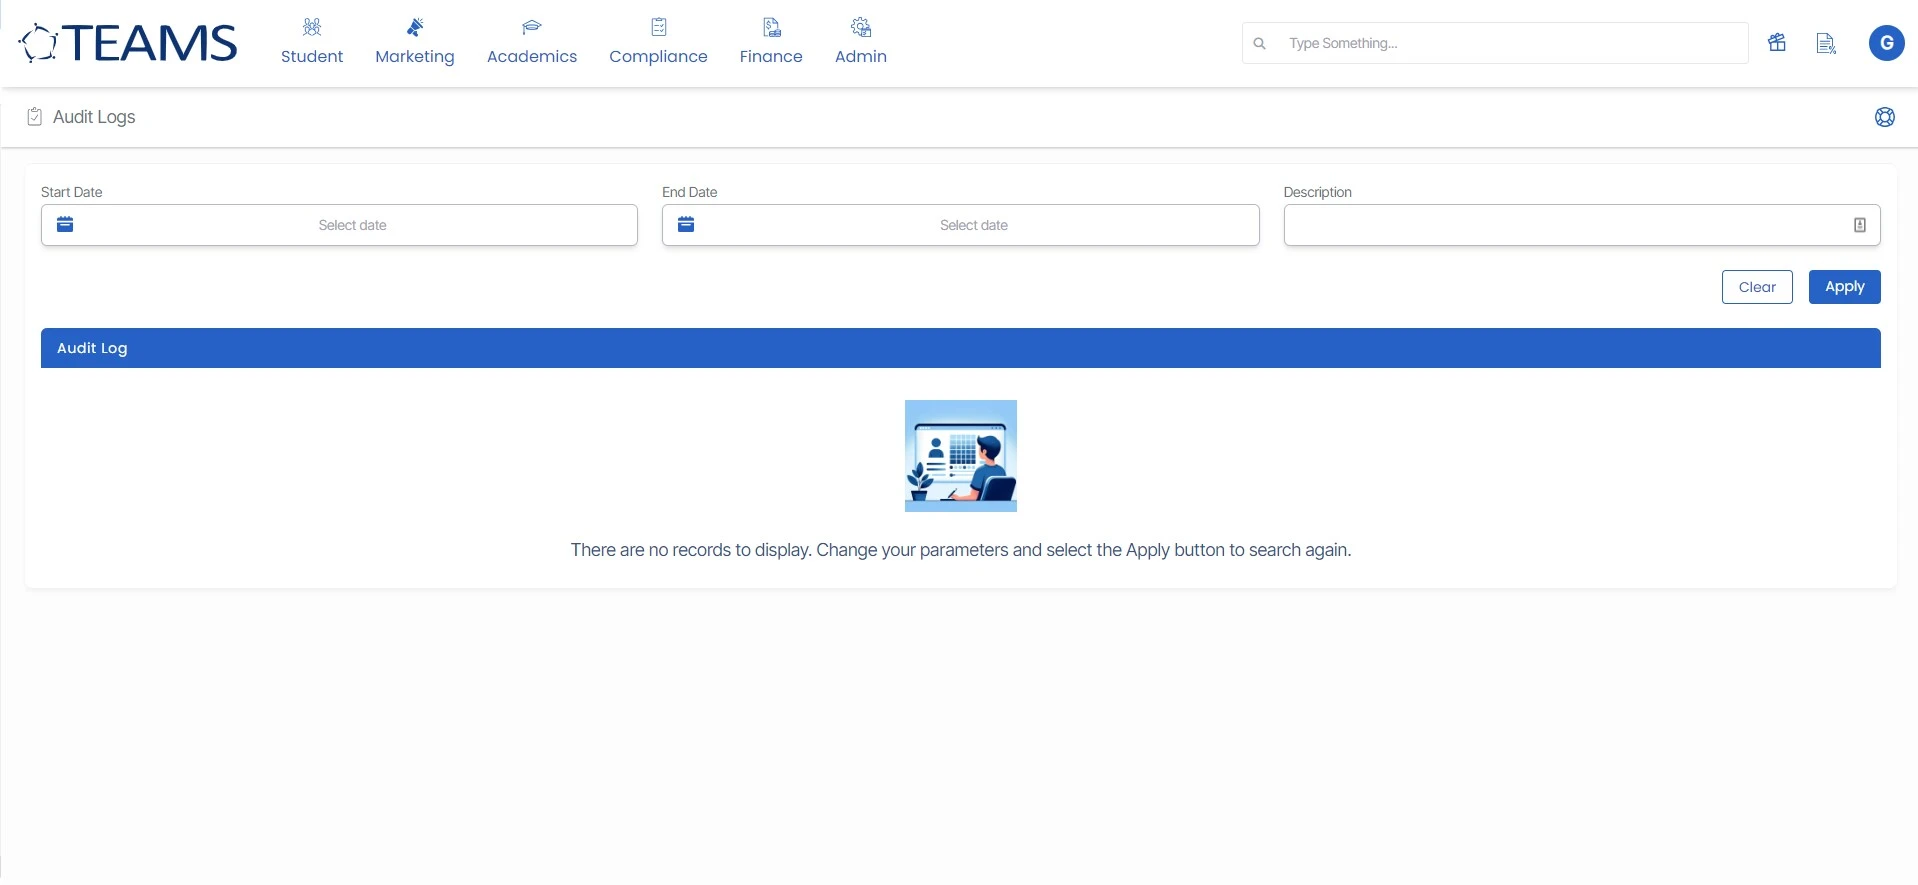
Every software needs to keep a record of all the new entries or changes done. An audit log helps to provide records of all the activities that users are doing on a screen. Learn more about Audit Logs from this post.
Dropdowns
TEASMS has dropdowns for fields and filters for reports. Some dropdowns are standardized, while some can be customized. Learn more about dropdowns by clicking on the icon above.
Merge fields
Merge fields are special fields that we use in TEAMS for different MS Word reports, and Email and SMS templates. Click on the icon above to learn more.